Custom Dashboard Emailed Reports
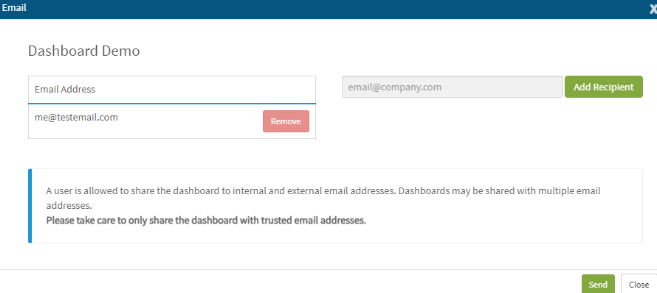
After creating a Custom Dashboard in Retrace, you can email a snapshot of that Dashboard to any email recipient. In this email report, a PDF file will be generated containing all the widget data along with the time frame selected for that Dashboard.
Public Dashboards
By using the public dashboard feature, you can easily give read-only access of your custom dashboards to external users. This help doc will outline the process to turn on the sharing feature in the Settings tab, create the dashboard link, and share the dashboard.
Note: Anyone who has access to the URL of the public dashboard will be able view the data. Please take care to only distribute links to trusted users.
Allowing Account Access
Before a user can share a dashboard an account admin will need to enable the feature. To grant access navigate to the Account page under the Settings tab.
Create a Dashboard Link
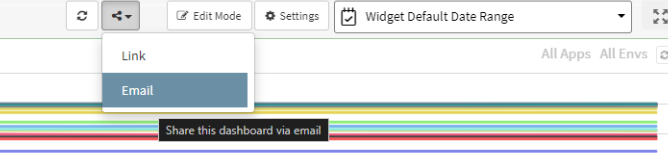
Once the Public Dashboards feature has been enabled, navigate to the Custom Dashboard page. For your selected dashboard click on the "Share" button.
Sharing a Dashboard
This button will bring up a modal with several options specific to the dashboard you are choosing to share. Each link created will grant read-only access to only that dashboard. If you wish to remove access, you can click on the "Revoke" action to "unlink" the URL with that dashboard and a new link will be created if you choose to re-share the dashboard.
Viewing the Read-Only Dashboard
Now that you have created a link to share, external users can navigate to the newly created URL to view the public dashboard.