If you have already installed an Agent on a server but didn't enable APM at that time, you can simply go to the appropriate server and enable CLR Profiling.
Option 1: Using the Retrace UI
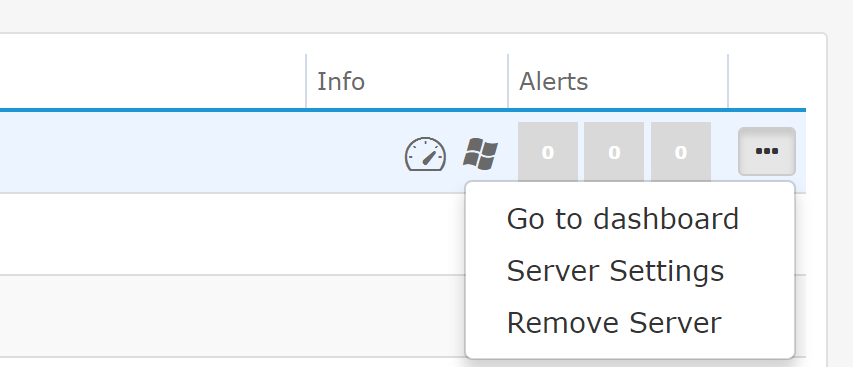
To do this go to the settings icon to the right of the server, and go to Server Settings
From Server Settings, you can simply click Enable APM
Note: By enabling CLR Profiling in the Server Settings window, IIS on that server will be restarted automatically.
Option 2: Manually updating the Stackify.ini
If you wish to enable APM Profiling on a server that is already running an Agent without APM enabled, but don't want to control it via the Retrace Dashboard
- Open [Install Drive]:\Program Files (x86)\Stackify\Stackify.ini. Find the following [Features] section:
[Feature]
EnableProfiler=0
RestartIIS=1
ProfilerStarted=0
- Modify the following keys to alter the profiler settings:
EnableProfiler=1
- Blank = disabled
- 0 = disabled
- 1 = enabled
RestartIIS=1
(IIS behavior when the the "EnableProfiler" setting has changed and the agent restarts)
- Blank = no restart
- 0 = no restart
- 1 = restart
- Restart the service Stackify Monitoring Service via the Windows Services console
Note: Depending on the chosen method for enabling profiling, you may need to manually restart IIS for profiling and data collection to begin.