This documentation is only for the legacy .NET profiler. Please use a stackify.json file for app and environment names with the current .NET profiler.
Configure Your App
By default, the app name and environment name are created at the root directory of the app. Once deployed, these initial names are discovered by the agent. However, there might be situations that you want to change these initial app and environment names. Also, you might want to have a different environment name for the different apps being hosted on the same server.
The app name and environment name that were discovered by the agent can easily be changed by setting parameters in the application's configuration file.
During Installation
The environment can be specified for the entire server when you install the Windows or Linux agent.
For .NET Apps
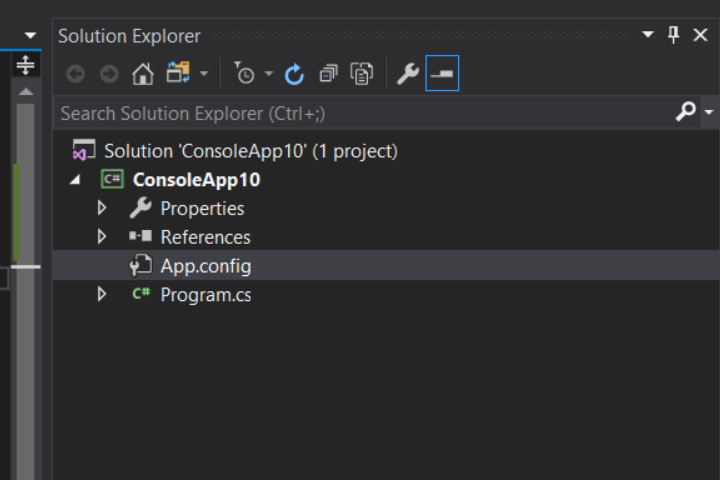
For .NET apps, locate and open the App.config file as shown below:

Then, place the following code snippet in the correct section of your App.config file. Make sure to place this directly inside the file and not on another separate config file.
<appSettings>
    <add key="Stackify.AppName" value="YOUR APP NAME" />
    <add key="Stackify.Environment" value="YOUR ENVIRONMENT NAME" />
</appSettings>
For .NET Core Apps
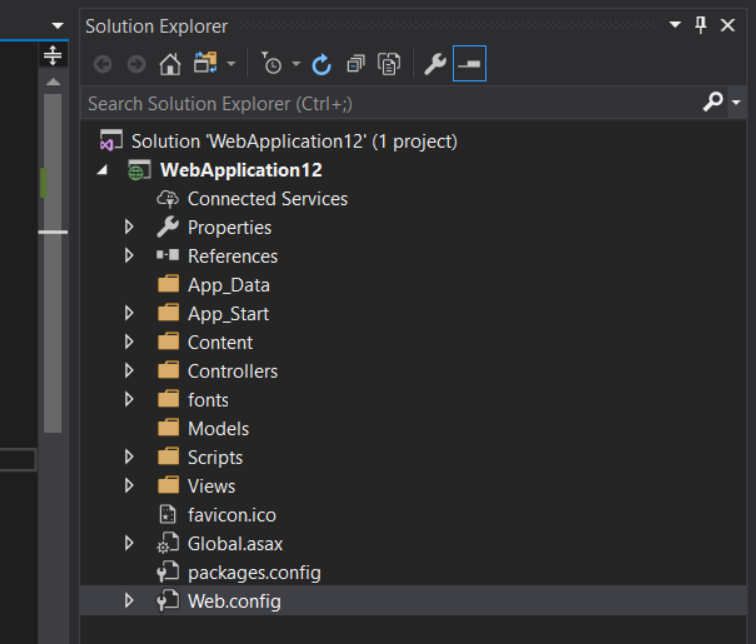
For .NET Core apps, Retrace supports two types of applications: Web and console applications. For Web applications, locate and open the Web.config file as shown below:

Next, add the last two lines into your Web.config file. Make sure to place this directly inside the mentioned file and not on another separate config file.
<appSettings>
    <add key="webpages:Version" value="3.0.0.0"/>
   <add key="webpages:Enabled" value="false"/>
   <add key="ClientValidationEnabled" value="true"/>
   <add key="UnobtrusiveJavaScriptEnabled" value="true"/>
   <add key="Stackify.AppName"  value="YOUR APP NAME"/>
   <add key="Stackify.Environment" value="YOUR ENVIRONMENT NAME"/>
</appSettings>
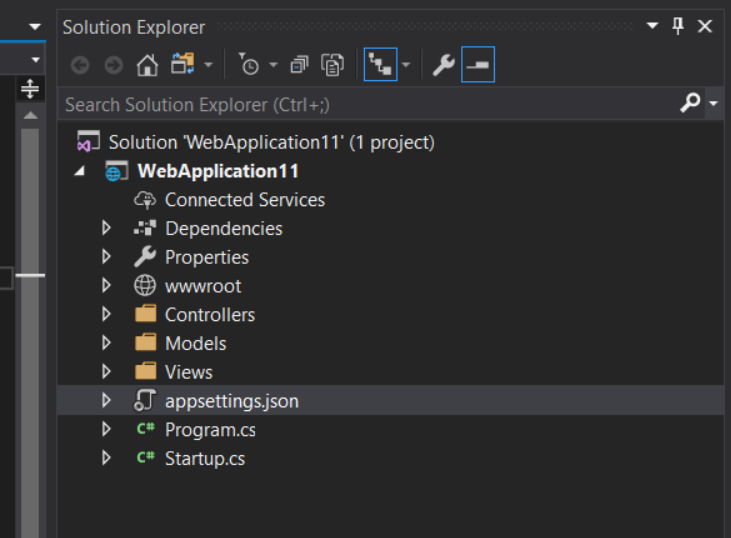
For console applications, locate and open the appsettings.json configuration file as shown below:

Locate the following code snippet inside the appsettings.json configuration file and modify the AppName and Environment with your preferred names.
"Stackify": {
   "AppName": "AspNetCoreWebApp",
   "Environment": "DotNetProfiler"
 },
For Java Apps
Put the following section in the stackify-api.properties file and place it in the webapp classpath:
stackify.application=YOUR_APPLICATION_NAME
stackify.environment=YOUR_ENVIRONMENT