Users
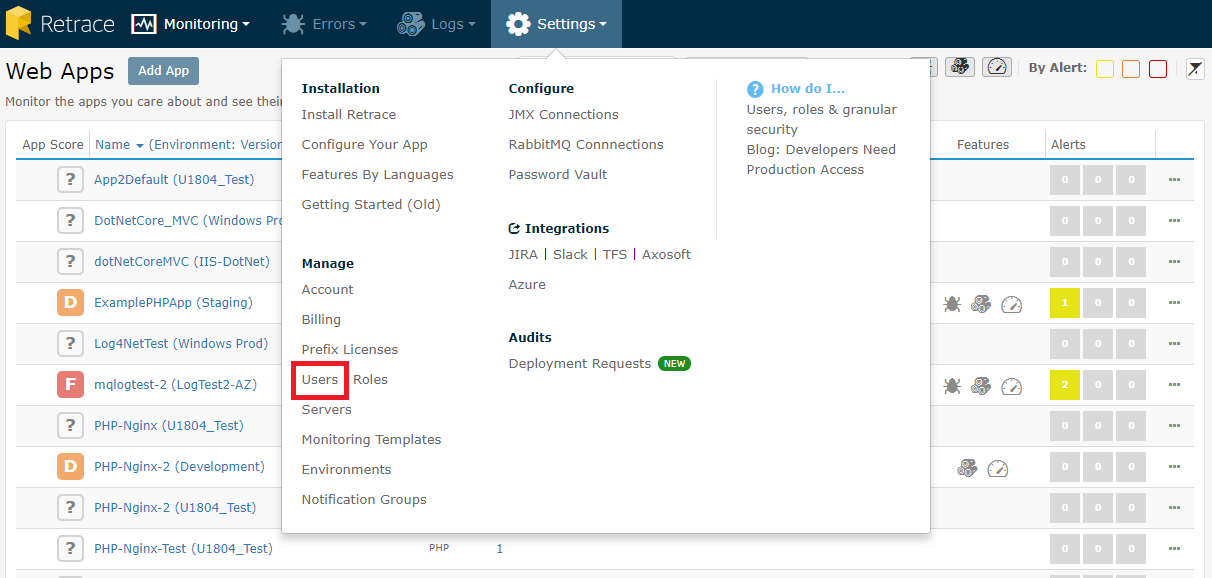
To view and manage users and user’s access, go to the Settings tab, click on the Users link. In this page, you can Invite Users and Manage each user.

Manage Users
To check and edit on the user information details, click on the Manage button.

Invite Users
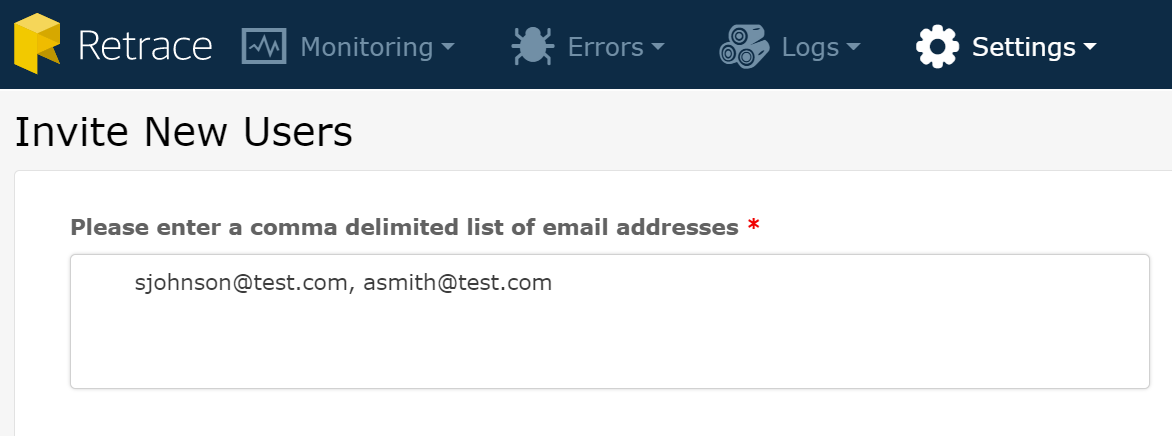
Click on the Invite Users button.

The Invite User page consists of 3 sections:
1. Email Address field:
The Email Address section is used to enter one or more (comma-delimited) email addresses for the Admin user to invite.

2. Notification Group Memberships:
This section allows for the selection of notification groups. You can either choose email or SMS or both to be notified in the event that an alert occurs in Retrace. You have the option to include the invited users to be notified with alerts or errors by turning on or off the status button.

The notification groups listed can be managed in Settings > Notification Groups.
3. Roles and Permissions:
See more below in Roles.
User Invitation Status
There are 4 user invitation statuses:
- Invitation Sent - the status when an invitation is first sent to the user, but that user has not signed up yet.
- Expired - the status when no action has been taken on an invitation after 72 hours. The "Resend Invitation" button is used to resend an invitation.
- Signed Up - the status when the user completes the registration
- Revoked - An admin user can revoke a pending invitation to prevent an unintended user from signing up.
Resending Invitations
This feature has the capability to resend an invitation once it is in the Expired or Revoked status by clicking the Resend Invitation button. Once done, the invitation will revert back the status to Invitation Sent.
Roles
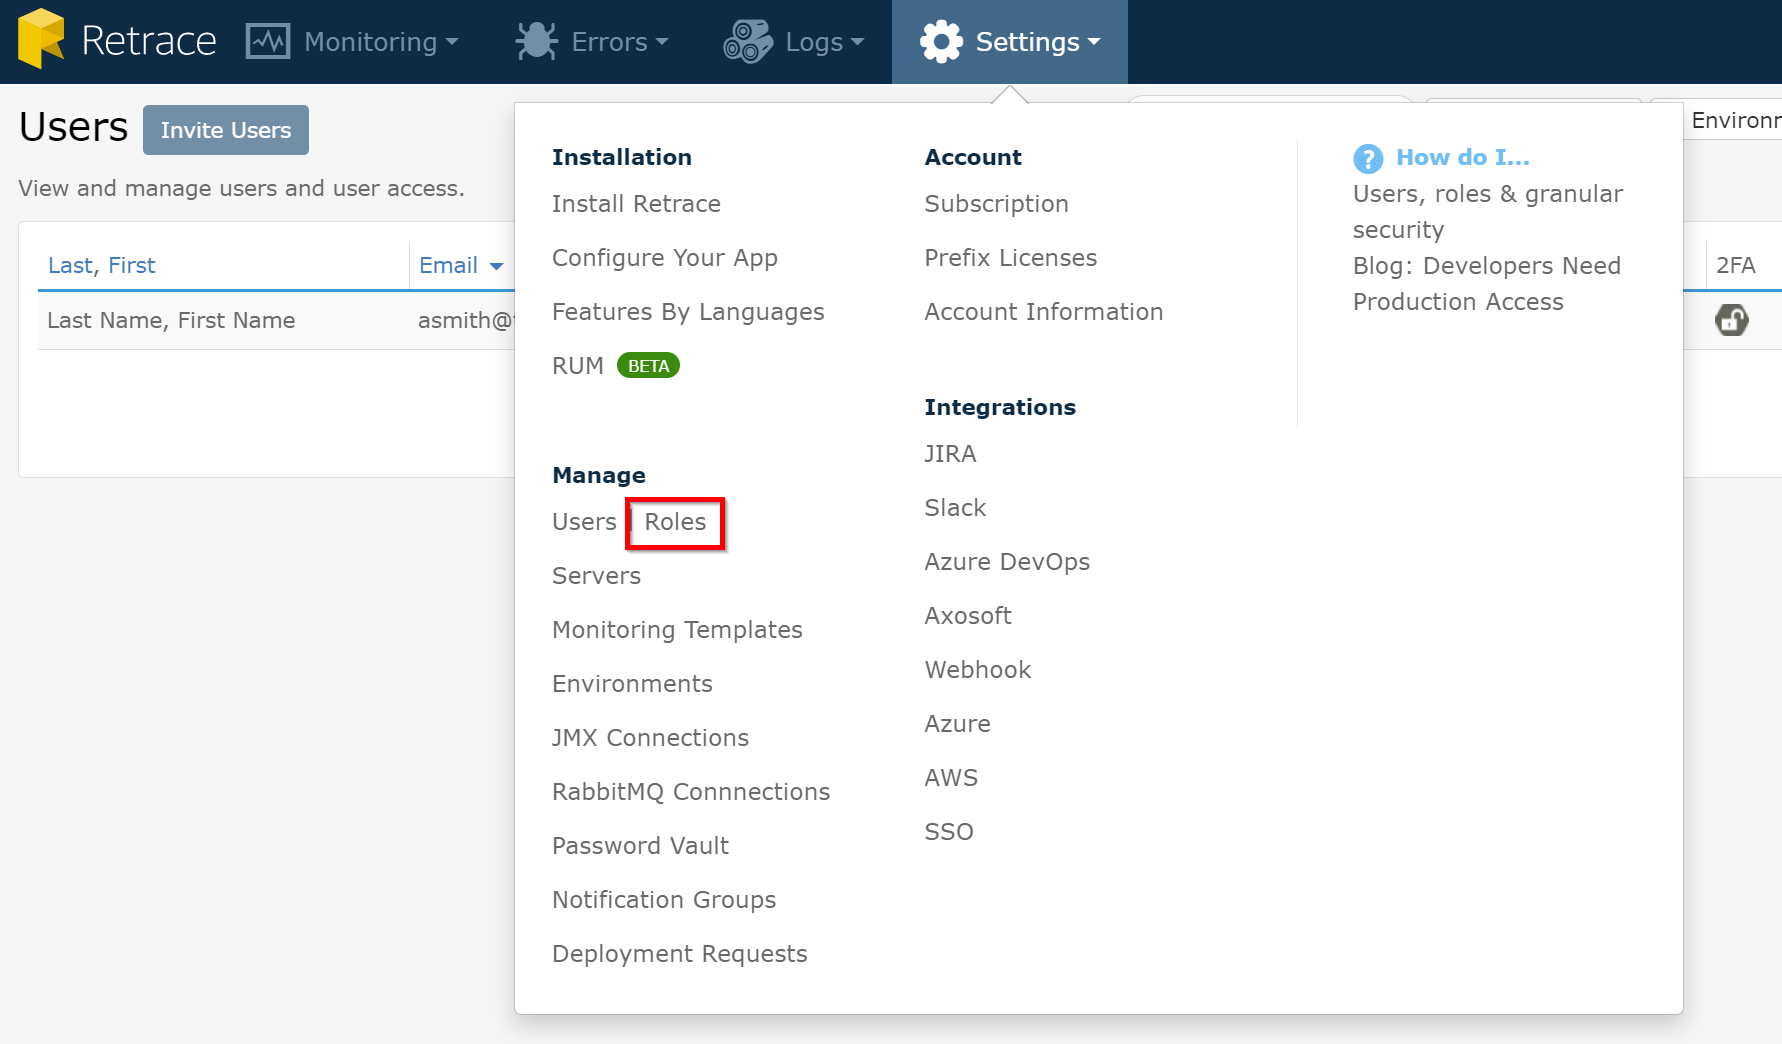
A Retrace account can only have one owner yet it can create multiple users which can be assigned to a specific role. Roles are used to controlling access to your account and data. To view and manage roles, go to the Settings tab, click on the Roles link.

In the next page, you can Add Role and Manage each role. Your account starts out with two default roles of Account Admin and Billing. Account Admins have full access to everything while Billing users only have access to the billing information.

These default roles are also shown under the Users feature.

Add Role
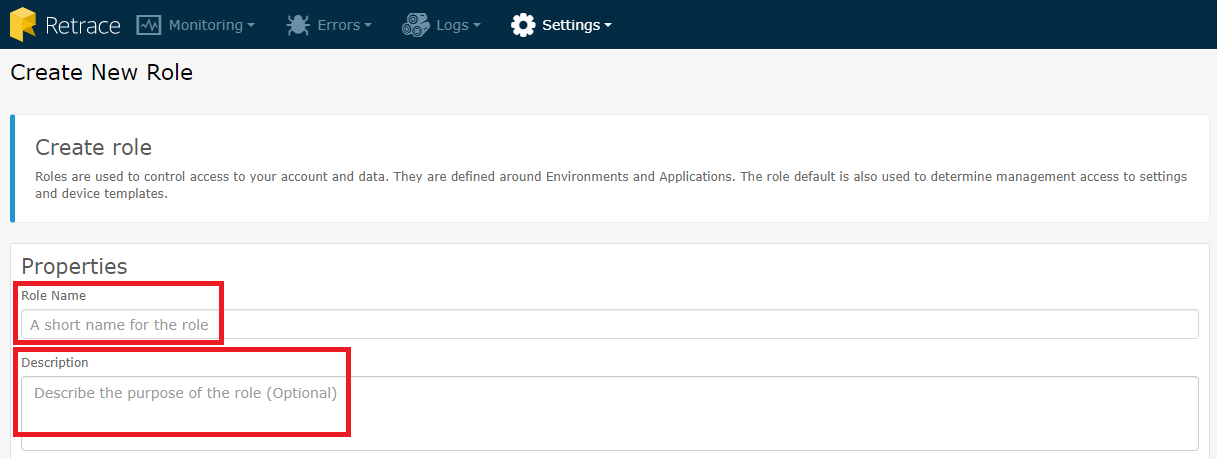
By default, there are 3 roles: Admin Account, Billing, and Dashboard Admin. Once you clicked the Add Role button, you will then be directed to this page wherein you can create a role with properties: Role Name and Description.

Note: Any user that is not assigned to a role will have denied access to all apps and environments by default. To override that, set the permissions in the Role Management table as explained below and then assign the user to that role.
Role Management Table
Here is a list of apps and environments that you can assign access for each role. Normally, your users will be able to see and modify roles but more advanced and potentially even detrimental permissions are restricted by default.
Here are the following levels of access for each app/environment:
- Admin - Users have full access to the data and settings configuration. These include editing alert/notification settings and creating monitors for an app or environment.
- Read-Only - Users can view monitor data and dashboard information but cannot edit any settings.
- Deny - Users will not see these apps or environment list thus will not have any access.